05. Cutting & Transitions
With its origins in splicing celluloid film, film editing is founded on cutting and rearranging segments of video. Premiere supports a number of workflows for supporting cuts and film transitions. We won’t every technique here. But, we’ll cover three important techniques.
Timeline Editing
The simplest way to edit footage is to edit it directly inside of the timeline. You can do this by selecting the Razor Tool from the tool palette. Simply click on a clip to split it in half.
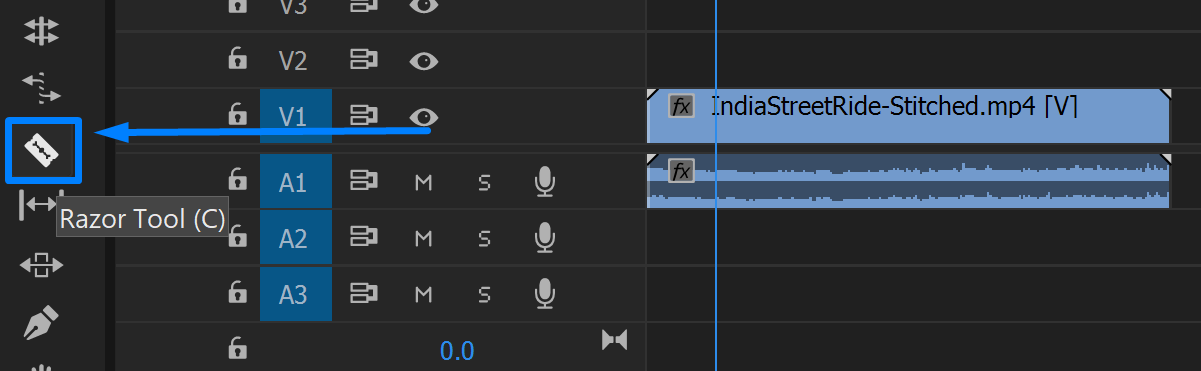
You can split clips into two parts using the Razor tool.
After you split the clip, you’ll have two new clips that reference the same source file.
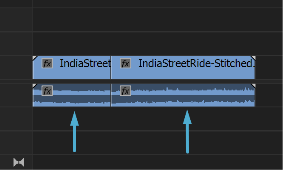
After you split a clip, you’ll have two new clips that reference the same source file
After you’ve split the clips, use the Selection Tool to rearrange the clips on the timeline.
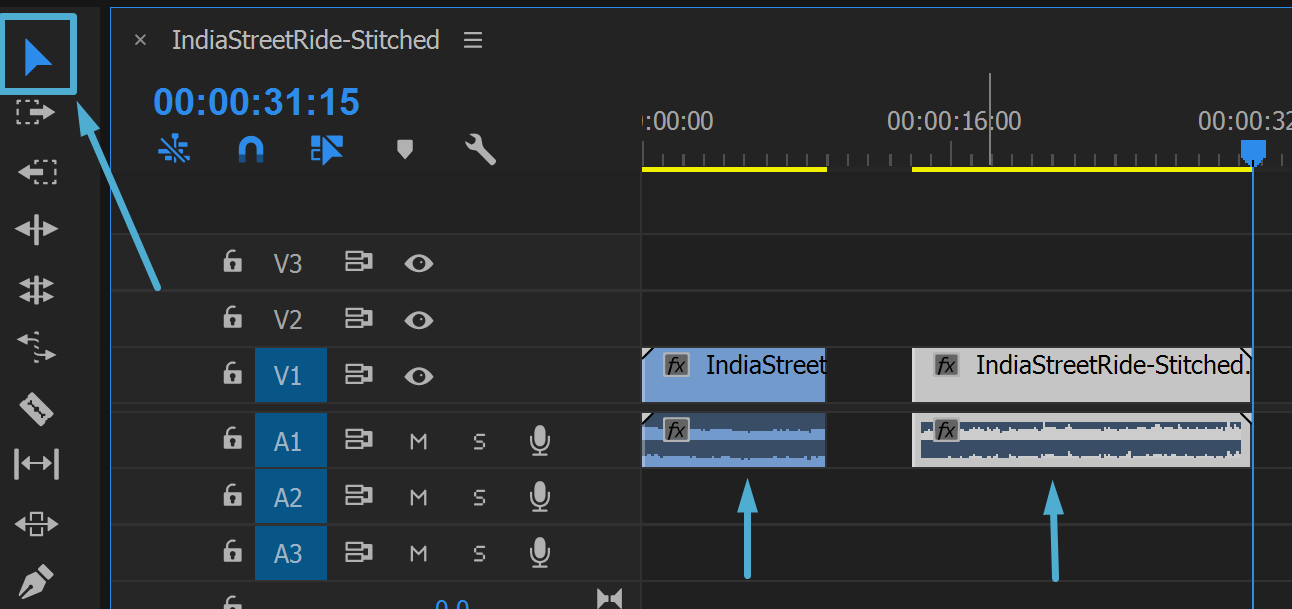
Use the selection tool to rearrange clips
You’ll want to make sure that snapping is enabled. This icon lives in the timeline and looks like a magnet. This will prevent flash-frames. Flash frames are brief frames that accidentally appear between edits.
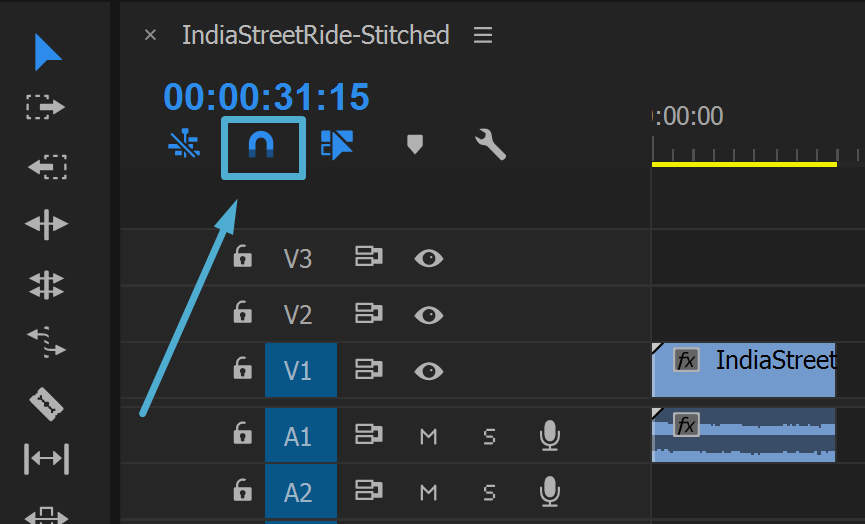
Make sure you have snapping turned on. This is enabled by clicking on the magnet.
There are a LOT of other tools to allow you to make edits on the timeline. But, this should get you started.
Quick Transitions
Once you have some clips, you’ll often want to fade-in, fade-out, or cross-dissolve between them. Premiere has a shortcut that makes this really easy. Just right-click on the edge of any clip and select Apply Default Transitions. By default, this will apply a simple fade. You can adjust this in the Preferences if you like.
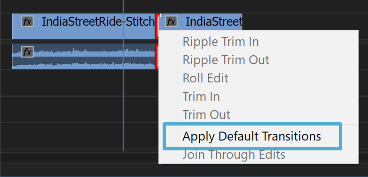
Right-click on the edges of a clip to apply a quick fade-in, fade-out, or cross-dissolve
Transition Library
If you want a more elaborate transition, then Premiere has a whole library for you. You can find it under the Effects pane. To get there, go up the Window menu and select Effects. Or, press shift+7.
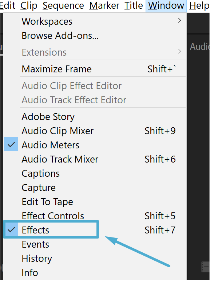
Go to Window, then Effects to select the Effects pane. Or, press Shift+7.
Inside of the Effects pane, scroll down to the Video Transitions folder to browse through all of the available video transitions.
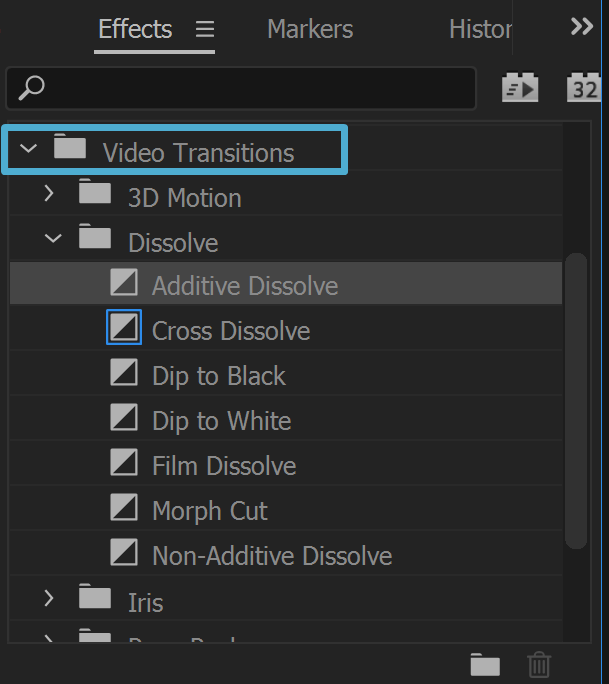
Scroll to the Video Transitions folder inside of the Effects pane.
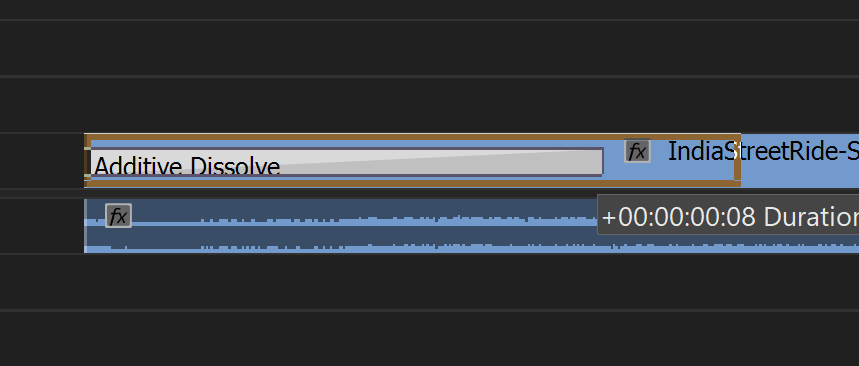
Simply drag-and-drop the transition onto the edge of a clip to create a new transition. When you hover over the edge, you’ll see a brown indicator box that lets you know where the transition will be.
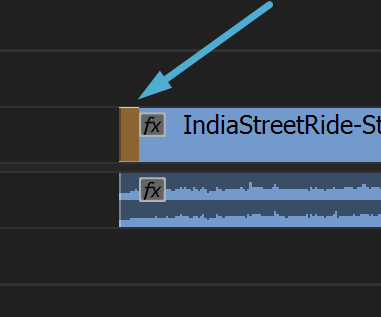
Drag and drop a video transition onto the edge of any clips to create a transition.
If you want to make the transition longer or shorter, then click and drag the edge of the transition left or right.
You can resize any transition by clicking on the edge of the transition and dragging it left or right.
More Editing Options
Because this is a quick introduction to Premiere, we can’t cover all of the editing techniques available to you. If you find yourself doing lots of edits, you should definitely read more about Subclips and using the Source Monitor to prepare footage before it goes into the timeline.
Good luck and happy editing!
Project Preview:
